Showing posts with label interiors. Show all posts

Monday, 10 February 2014

Going round in bunting circles!

Carry on with my homemade interior makes, this small blog looks at a really easy £0 make!

For £0 you can easily make some Circle Bunting. I’ve used this to dress a curtain that separates the kitchen from the living room. With the ceiling been so high, and the curtain and wall both white, its a large white space with no details or textures. I experimented with a few items, fairy lights, hanging decorations etc. but all just didn't seem right.  So, to keep with a theme in the living room I took the idea of the original pom pom bunting, and kept the circle/ball shape as a starter.


The bunting is really easy to make, first you do need a Sewing machine (If you don’t have a machine try attaching twine or thread to the back of the circle cut outs with tape). For the circles anything can be used, old cards, wrapping paper, felt, anything that will give the finish you want. I had some odd bits of paper from Christmas card making lying around so used the gold and pearl card. Cut the circles to your desired sizes, then on the lowest simple setting on your machine push them through. You can be as neat or as un-neat as you like, it really doesn’t matter, I went for un-neat just so it wasn't such a sharp line of circles. Make sure you leave some thread at the end for you to hook around what ever you are attaching it to. Then when finished, drape it, hook it, hang it where ever you want. 


Something like this is great for events or parties, for a wedding lots of white circles, or use matching card for a party, laminate the circled before sewing for outdoor buying as well! Iv posted some images that inspired me from Pinterest below, they are all shop bought bunting, mainly Etsy, but you can see how easy there are1 to make. Hopefully these colours and textures will get your creative juices flowing!

Elle xx


Wednesday, 9 October 2013

Next AW'13 with Ideal Home

After 6months of assisting Pippa Jameson it puts a huge smile on my face to be able to share some of our recent work. 

Most recently in their October issue, Ideal Home showcased the Next Homeware range for AW 2013. This shoot I worked as Assistant Stylist to Pippa.

Photography by Jon Day.
Photo used from www.pippajamesoninteriors.co.uk.


This was such a fun shoot to work on. Working on the shoot in mid July as you can imagine from this year, the sun was beaming! Working with the talented photographer Jon Day again. It was my first time meeting the team for Next and IPCmedia who are all really lovely, the location house was also a dream as always!

The range is just what you need for this season, I especially fell in love with the cute little fox tapestry pillow and the chunky knit throws. I can just imagine getting wrapped up now that the nights are drawing in, sat with the little foxy pillow curled up next to you. Also as an avid candle fan, the candelabra is very striking. I would love this for a Christmas display or to add a dramatic effect to my already candle filled home! You can find my three favourite items on the links below and for the rest of the range click here.

If you follow me on twitter, you will know about my early morning runs to my forever favourite place, The Covent Garden Flower Market. In this shoot you can see some of my handy selection work of flowers to add to the warm and earthy autumnal colour palette Next has supplied.

E xx

Fox Tapestry Pillow
Metal Candelabra Distressed
Cream Chunky Knit Throw


Wednesday, 10 July 2013

Prepping with Zoe Brewer.


So taking a little step back into the past to continue telling you about my work with Zoe Brewer which ended back in March. You can find my first post here, where I explain how I assisted with testing out her idea for using the natural elements of the Lower Mill Estate where her interior project took place.

Moving on from logs, I had the opportunity to assist Zoe with the prep for the project. This involved researching and purchasing various items for the apartments she was styling, such things as a Christmas tree to a tea strainer to 90+ cushion inners! Its remarkable what you forget you may need when staying in a holiday apartment.

This been the first time I had worked with interiors was a real eye opener for me. Zoe had worked with Lower Mill in the past for similar projects, so she had a great idea of what she wanted to achieve from working with this new apartment block. Zoe is an extreme pinner on Pinterest using this as a bases for her projects, she explains here, also have a look at her inspirational boards here.

I was able to see first hand how Zoe was able to make quick and professional decisions on certain aspects of the project. From chosen colours and styles of appliances to styling elements and understanding why from a price and aesthetics direction. Understanding how logistics comes into a project like this was quite an eye opener. Deliveries where made left right and centre of various items, which where then put in storage, then brought out of storage, then into a van, then onto the Lower Mill Estate, then unloaded there, Phew!! On top of all this I also got to take a trip to Ikea with Zoe, which was a great experience!

Working with Zoe on this project has really brought to my attention interiors around me and looking at the textures, colours and shapes of various elements. Heres some of my fave pictures from the past few months taken when out and about on a my phone.


Back bar at London Cocktail Club, Shaftesbury Avenue.


Retro tattoo wall art.


Hammersmith Apollo ceiling patterns.


Straight line patterns at Borough Market.


Lighting at Wahacas, Soho and Covent Garden.


Funky little seats at Wahaca Soho, Tequila Bar.


Tile Pattern.


Painted stairs and matching wallpaper patterns.

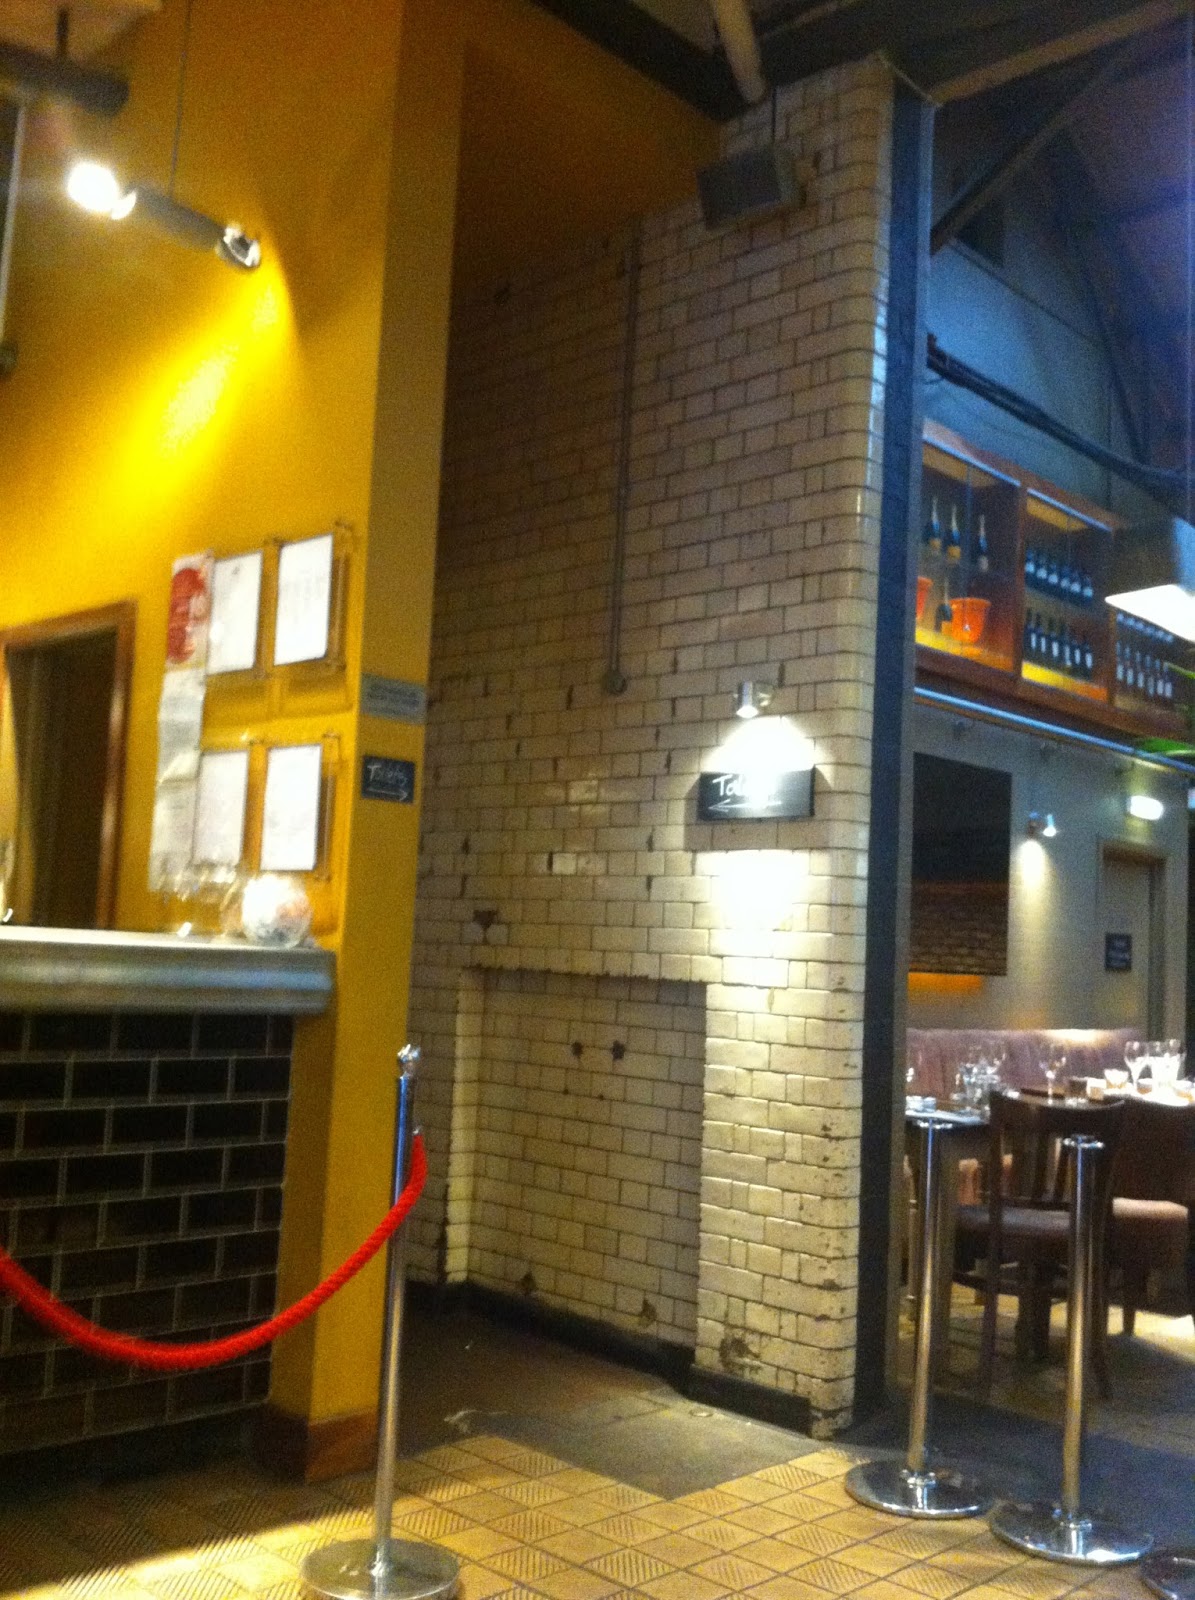
Old fire station wall at (funnily enough) Fire Station Bar, Waterloo.


Wednesday, 5 June 2013

Zoe Brewer, Lower Mill, logs and beavers...

So remember a while back when I gave you some sneaky peeks of a job I was doing? (Its here if you didn't). Well I can finally tell you all about it, so no more guessing games...

Back at the end of January I started working for Zoe Brewer, a very talented lady who has worked her way across television and styling to now owning her own interior design business My Interior Stylist.

Meeting with Zoe was probably one of my favourite interviews ever. We met at her house where not only did I meet Zoe and get a good look at her pink themed kitchen, but also her cute new kitten and lovely dog Suzie joined us.

I was brought on board to assist Zoe with some interior makes for a big interiors project with Lower Mill Estate located in the Cotswold. Ill explain more about Lower Mill in my next few posts as its such a beautiful place I wouldn’t want it to just be a short paragraph.

So interior makes. Looking over Zoe’s great mood boards on our first meeting that you can see her explain here. I got a very detailed look at what she wanted to achieve with the project and also what she wanted from me.
Zoe had a great idea to use materials from the land around the estate, most predominately been logs.

Together using pinterest we were able to see how others had used logs within the home, from tables, seats to interior features. Zoe had some great pins, that you can see here, which also inspired my own collection for inspiration that you can see here. Using these images I was able to get an idea of what she wanted.
So I got to work on some testers….


So my first testers started out as a Christmas tree, which if like me you hate to see Christmas trees in with the rest of Christmas rubbish, this is a good idea for the future. 
Using a hand saw I stripped the bark of all the branches and sanded it down. I used a electric sander, (kindly handed down to me from my dad) but using paper sand paper would work, just watch your hands.


After that I cut the log into three sections, all different in height for variance.  I sanded down each end to remove any sharp edges and also to expose the gorgeous tree rings.


Once all sanded, I gave them a coating of white paint then choose some neutral colours to paint them. This way they would work within any colour scheme, especially within the interiors of the Lower Mill project.
As the bark was small and probably wouldn't make much of a seat or table, I decided to present these as church candle stands.


The second set of testers I went on the look out for some larger logs, finding some in the local park.
Here I am getting started on the stripping down or the bark and cutting the edges off.


(Cheese!!)

So once cut down to size, exactly the same process as above.


At this size they can easily be used as a seat or a table to rest your drink. When not been used, they just add a bit of colour to the garden. 


These testers where not actually used for the Lower Mill project. The estate actually had onsite logs that during the project where painted and used for the apartments. Not only was there logs similar to above but Lower Mill actually has a family of beavers and logs that had been artistically gnawed by the beavers. Animal lover like me, have a read about the beavers here.

So because the testers weren't needed for the project I got to keep them! They now sit pride place in my new home, the smaller ones lighting up the living room at night when we're trying to save money on electric and the larger for when we have summer garden parties, like below...


Can you see them? I know, I know, not great pictures but I think these guys appreciated them.

Thanks for reading everyone and I will tell you more about this project soon!

Elle xx


Monday, 22 April 2013

'Making a house, a home...' Part 1


Give a girl a week off and she will make things. Maybe not so much the popular quote but, the past week iv been off work so instead of planning a range of things or sitting on the couch watching Nashville on 4OD (anyone else love it?!!) I began making a range of things for our new place.

So I came over a bit crafty at first. In our new place the living room is a bit bigger then what we had before, with rather high ceilings making it feel not so cosy and, this might sound silly, but too tall. So the solution? Nope not heating, nope not lighting but a Pom Pom garland! Makes it feel so much more cosy J
How do you make a pom pom garland i hear you ask? Well sadly i didn't do a step by step picture guide, as its to bloody easy! But... Wrap your wool around something, i.e fingers, a salad fork. Once your at your desired thickness wrap around a string of same colour wool across the loops after youve taken it of the wrapping object, then cut through the loops, voila!! 
Then use string, yarn what tying the poms-poms inside knots along the way. 
Iv chosen purples and reds for the living room, so this is my start at getting them pops of colour in, plus a few Ikea treats. 

With the Mr Sun deciding to show his face finally, I could get in the garden like said in my last post, my task, to make us a little bench. Below you can see my inspiration and the final product.

Iv got a lot more things im putting together that as soon as they are done, ill let you know!


Showing you reds and purples do go!


POM POMS!!!!!!!!!!


Bench Ideas


The real deal...


Thanks for reading everyone :)